

My skin smoothing secret
Hi there, Tabetha here. :)
During one of our many hours sitting in the office at the studio, Amber came to me with an idea for blog posts: Editing techniques. Genius! Now, this one might not be for our moms, more towards the photographers who follow our work. This week I am going to give out my skin smoothing secrets.
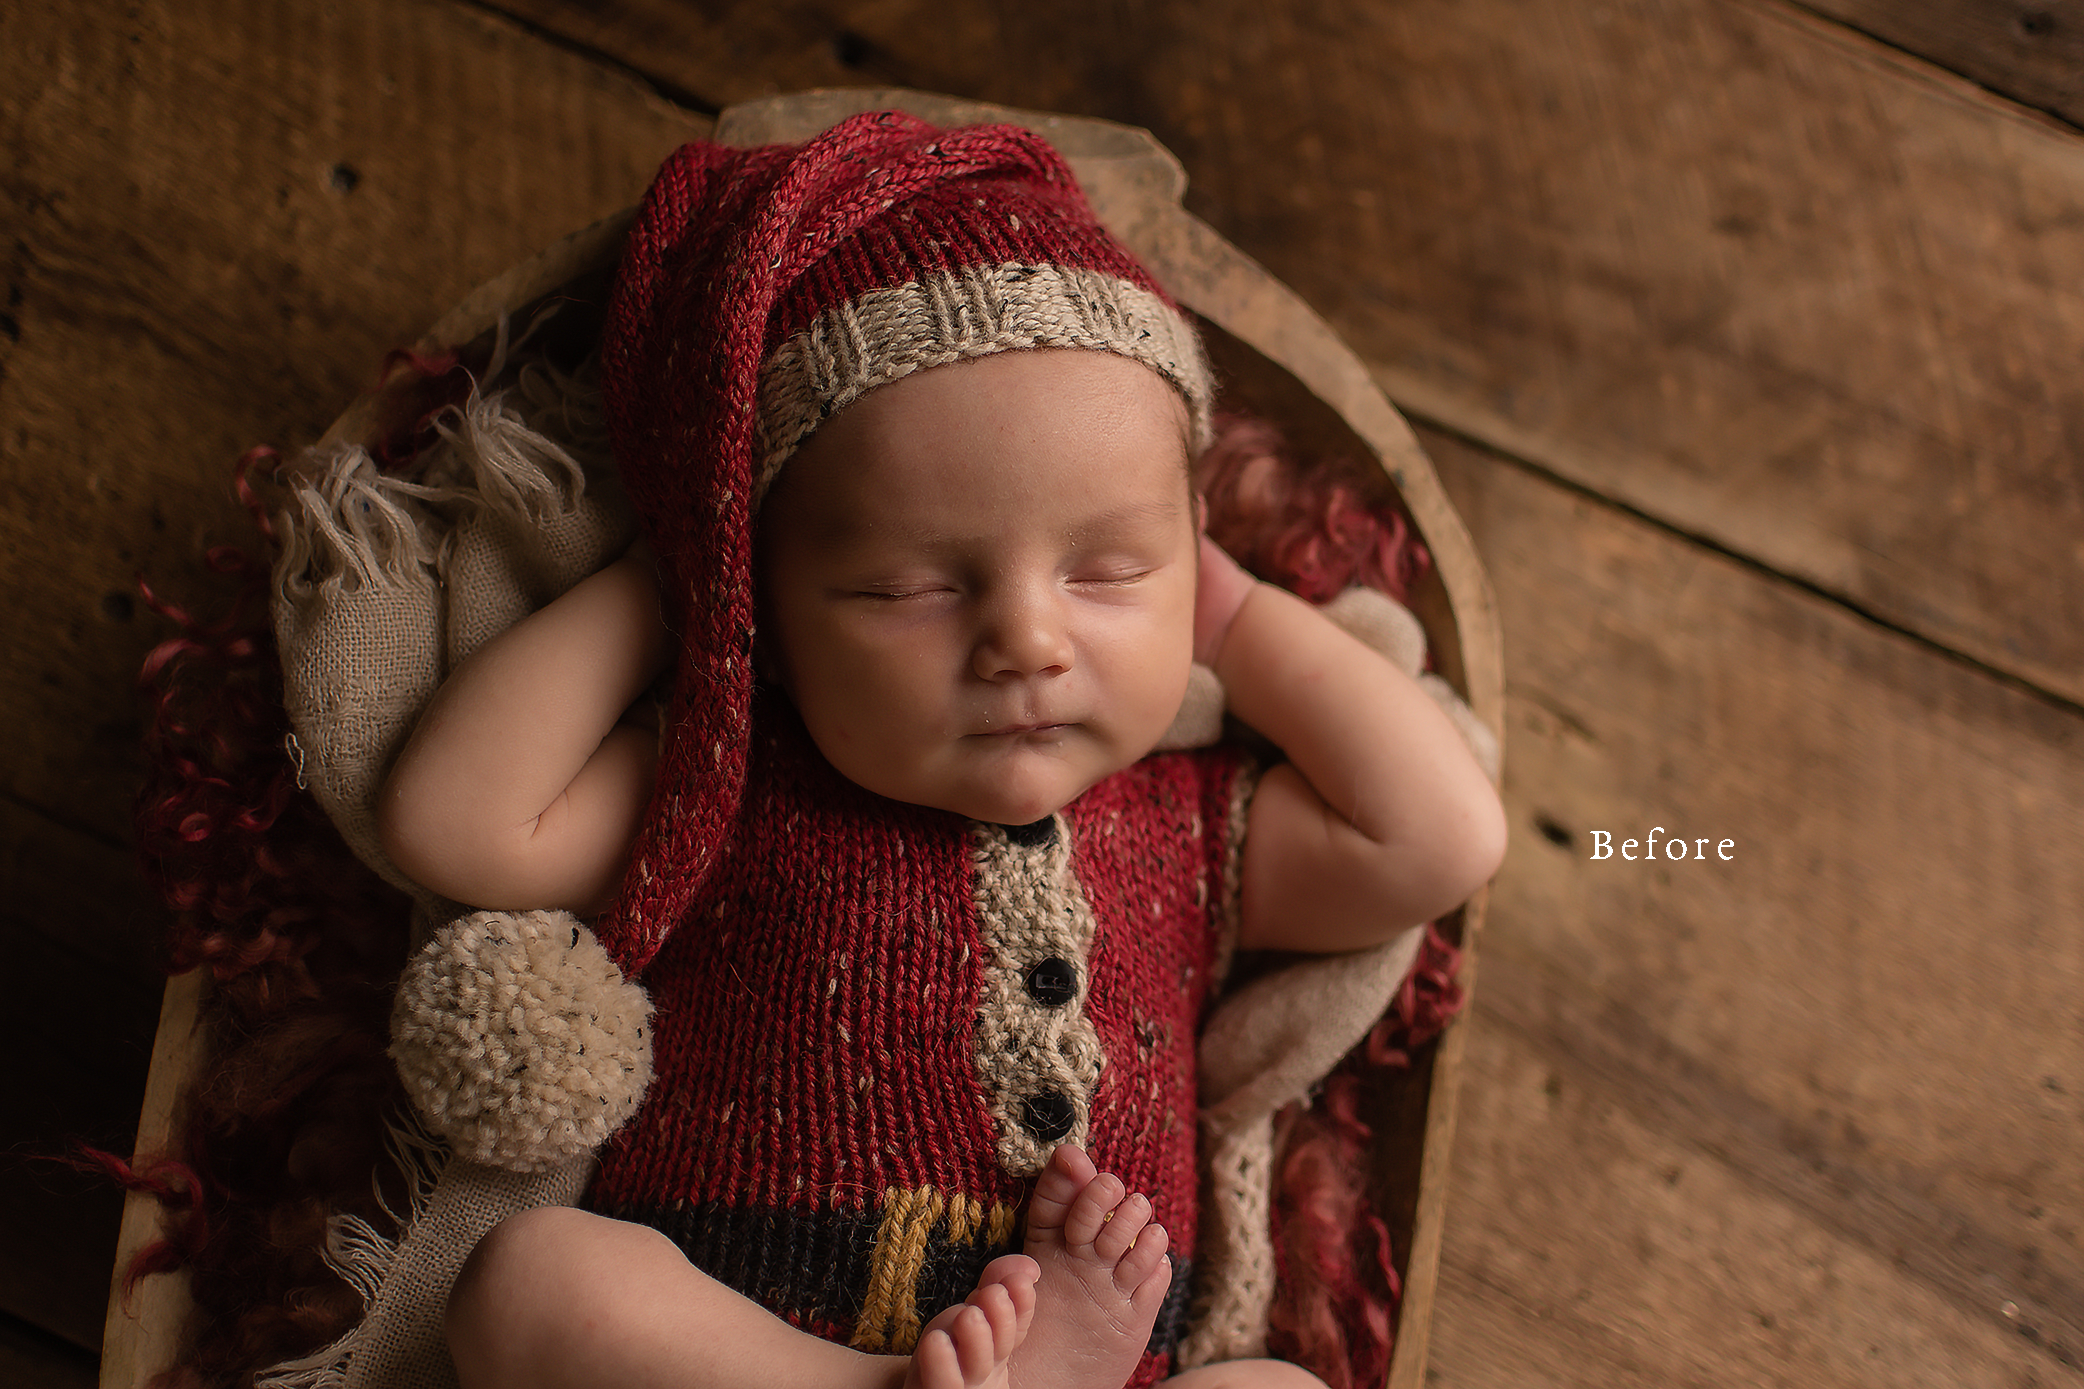

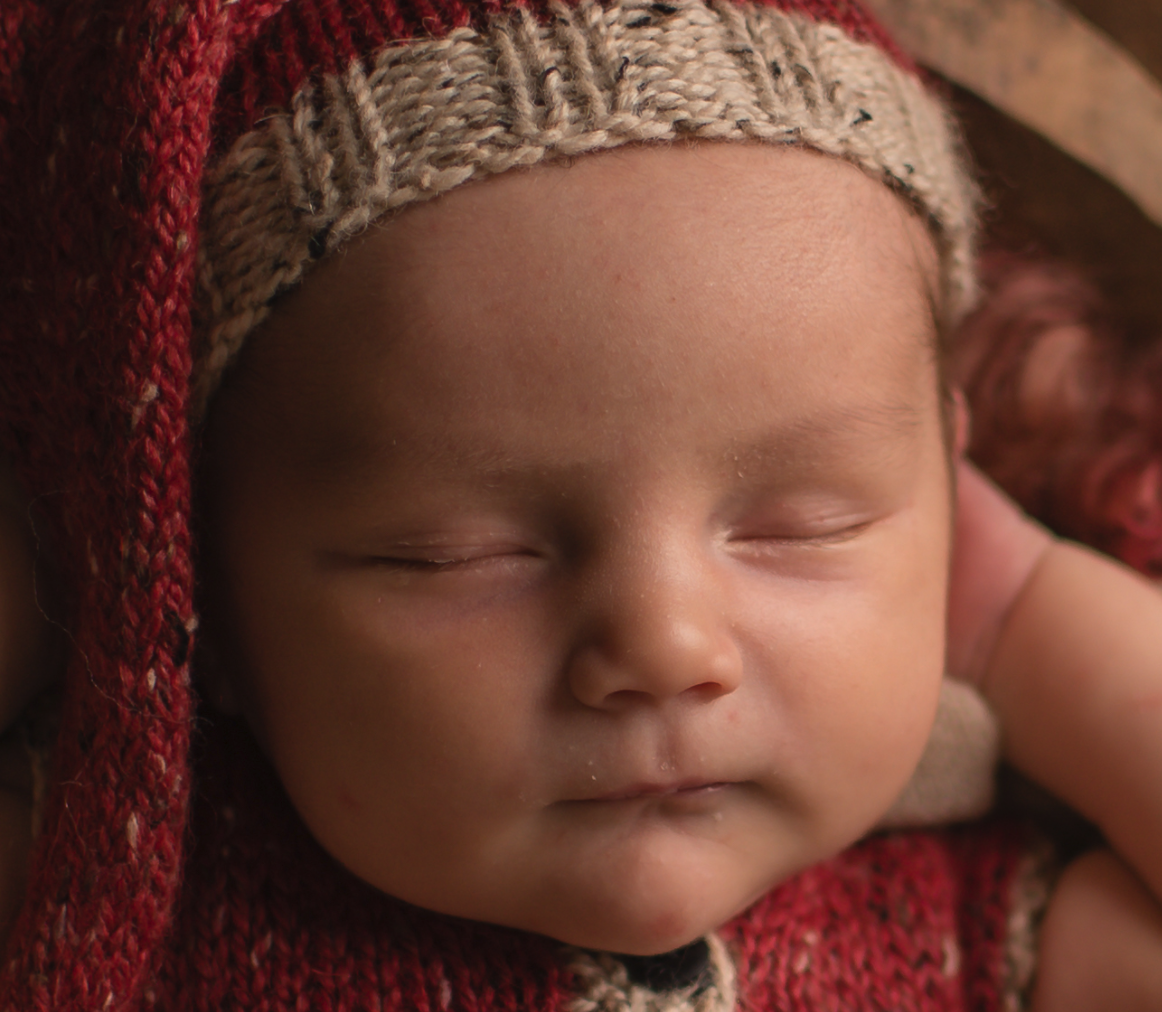
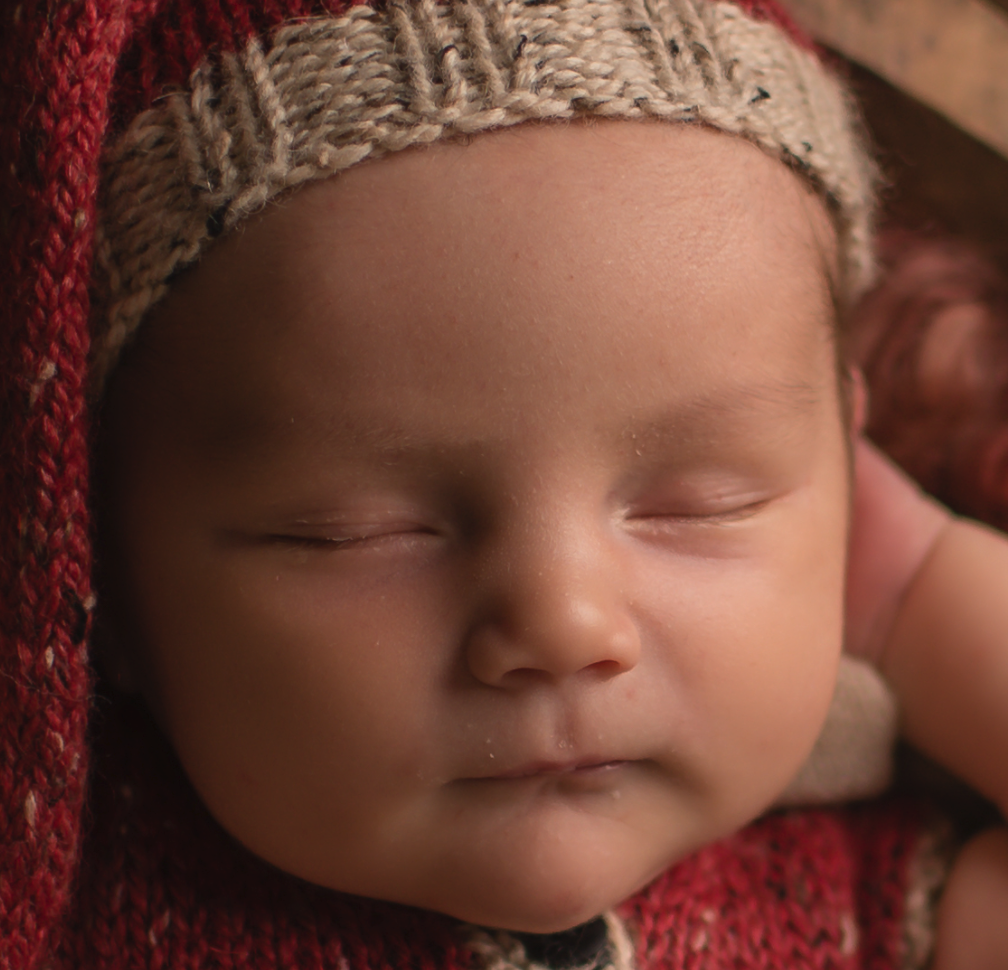
One of the areas we pride ourselves in is our natural looking images. Two of the things Amber has taught me is that less is more and get it right in camera. Always. We typically don't have too many skin issues because of the way we light our babies. As you can see, the difference is subtle. So how did I achieve this? Frequency separation.
What is frequency separation? It is a technique that allows you to separate the texture from the tone and color of the skin in an image. In layman's terms it makes the top layer super sharp and the under layer super smooth. When first running the action, you won't see a difference because it just separates those layers. It is how you use the action that makes the change.
I would like to introduce you to Phlearn.com. In a minute you will head over there because I want you to download a photoshop action. Phlearn is an amazing website with so many tutorials and videos. You really should check them out on youtube as well. They break down anything and everything you could possibly want to use Photoshop for. I have learned so much from this website. Head over to Phlearn and download the frequency separation action. Come right back. I'll wait.

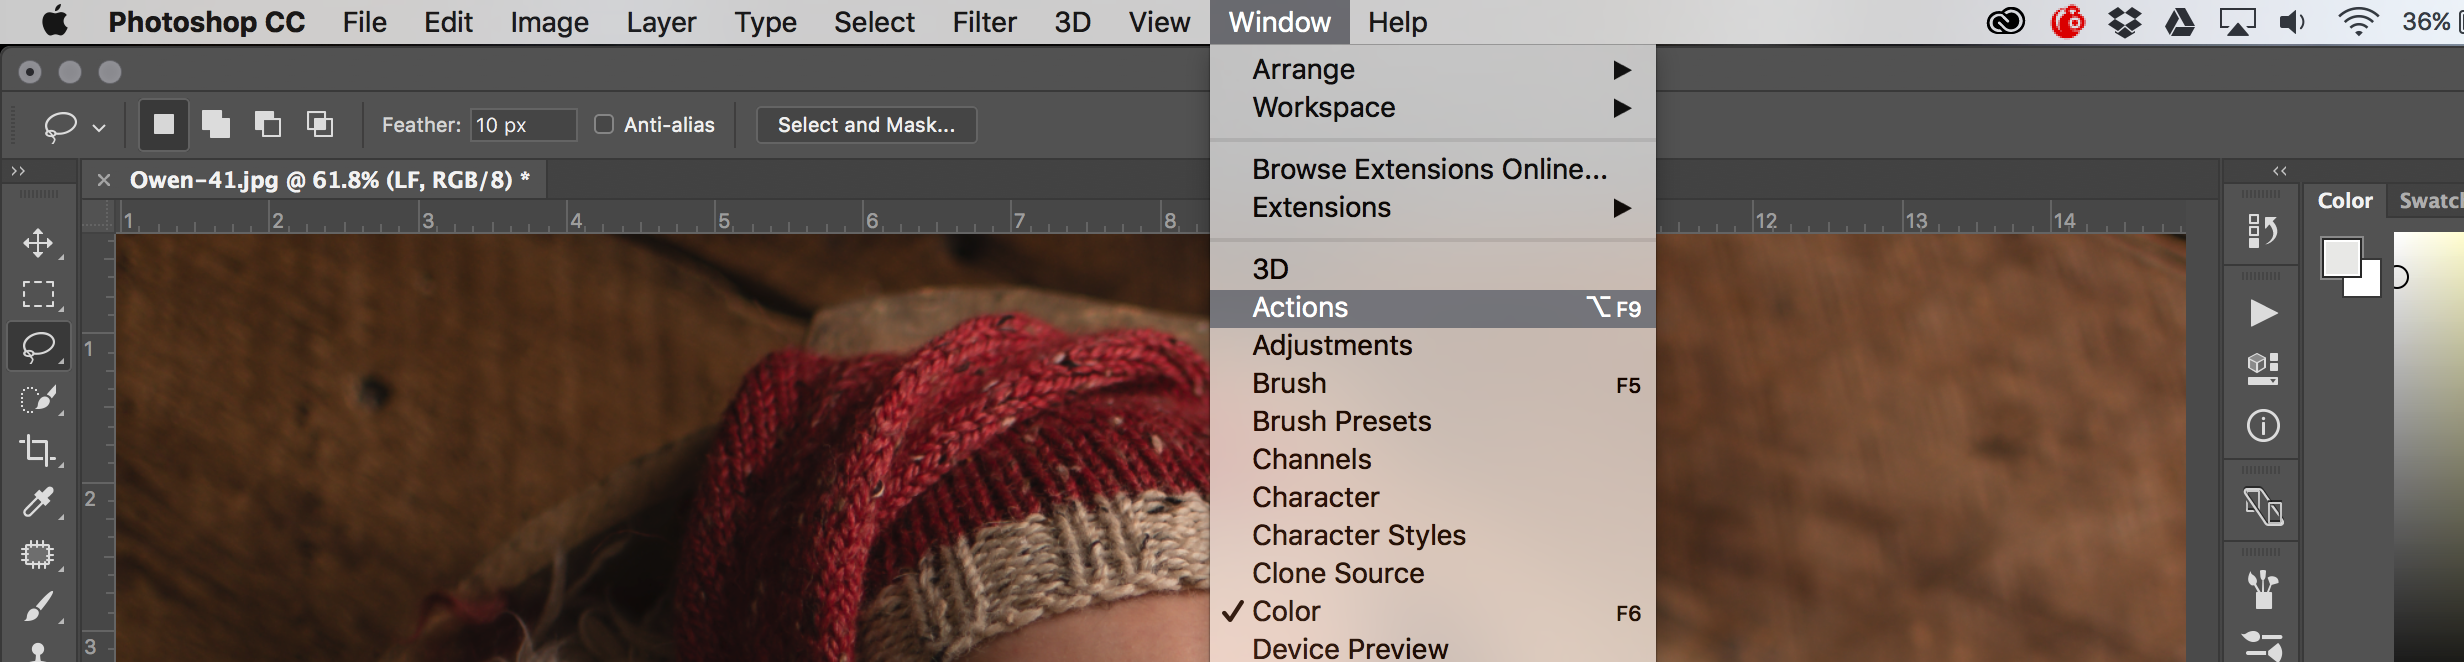
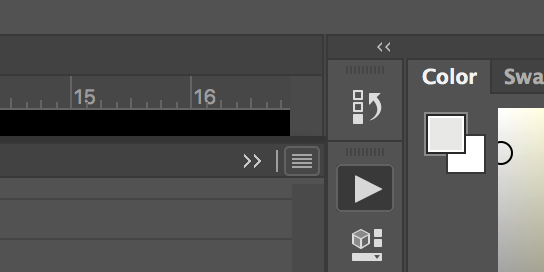
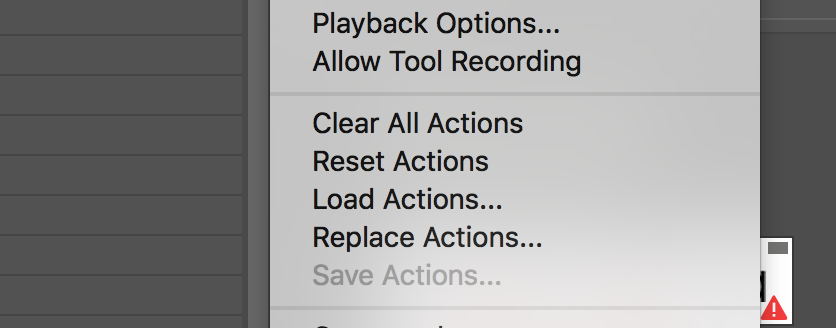
Okay, now you have downloaded the action you should have a phlearnfrequencyseparation.atn file in your downloads folder (or where ever you chose to download it.) You can add it to your photoshop one of two ways. Drag the .atn file to your photoshop icon OR you can manually install it into photoshop through your actions panel. Up at the top right corner you will see an icon with four horizontal stacked lines. This will open a drop down menu, select "load actions". You can also access this at the top drop down bar of photoshop: window/actions. Choose the .atn file and it will install.
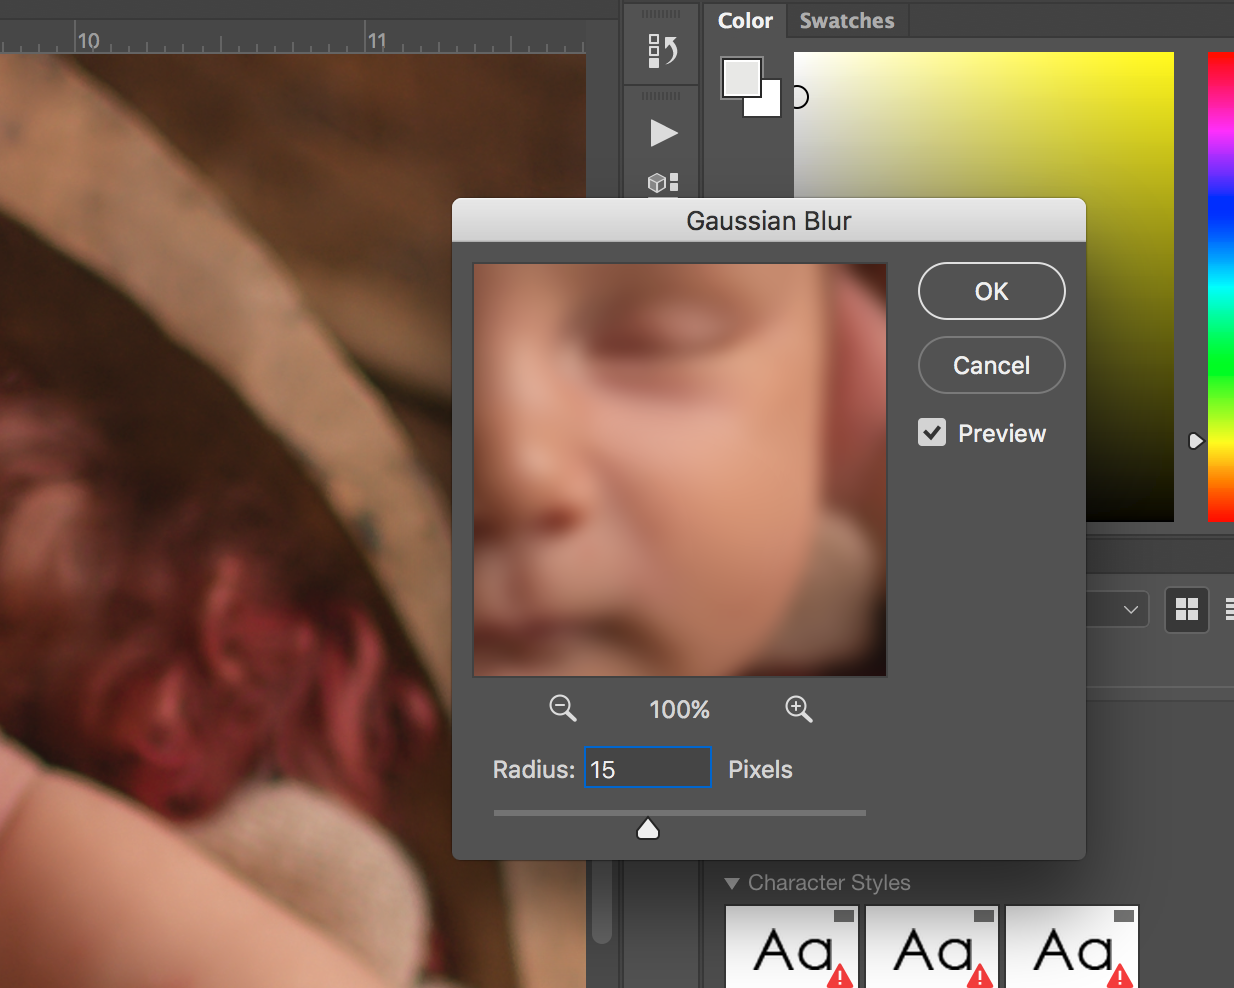
Once you have downloaded and installed that action, I can show you how I use it for every single newborn that needs some skin smoothing or tone correcting. Run the Phlearn action by opening your action panel and choosing the frequency separation action and choose the play icon. The action will run and a menu option will pop up that says "In the following Gaussian Blur dialog choose a radius that blurs skin texture. The radius will be different for each image". Choose continue.
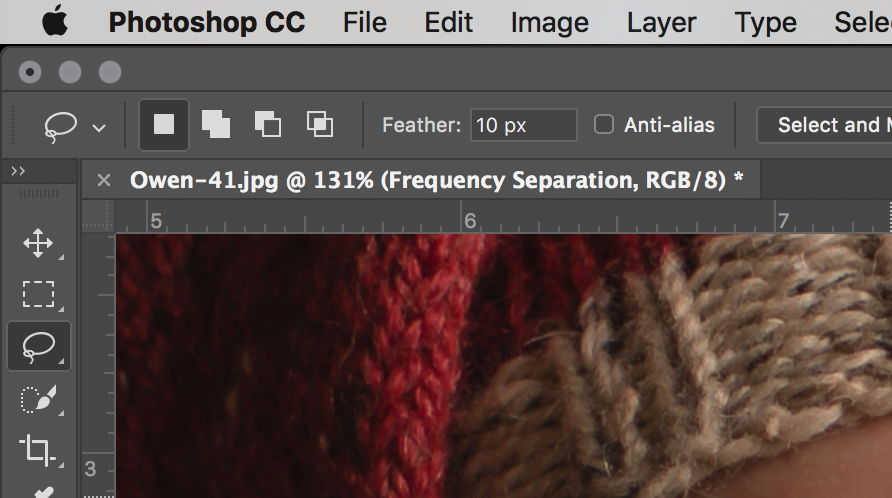
When the dialogue box pops up it will tell you to select a blur strength. Set the blur strength to 4.

Next, select the lasso tool and choose to feather the selection to 10. You will then select the LF layer and start working on the skin. Select areas of the skin that need work then add more blur. Like so:
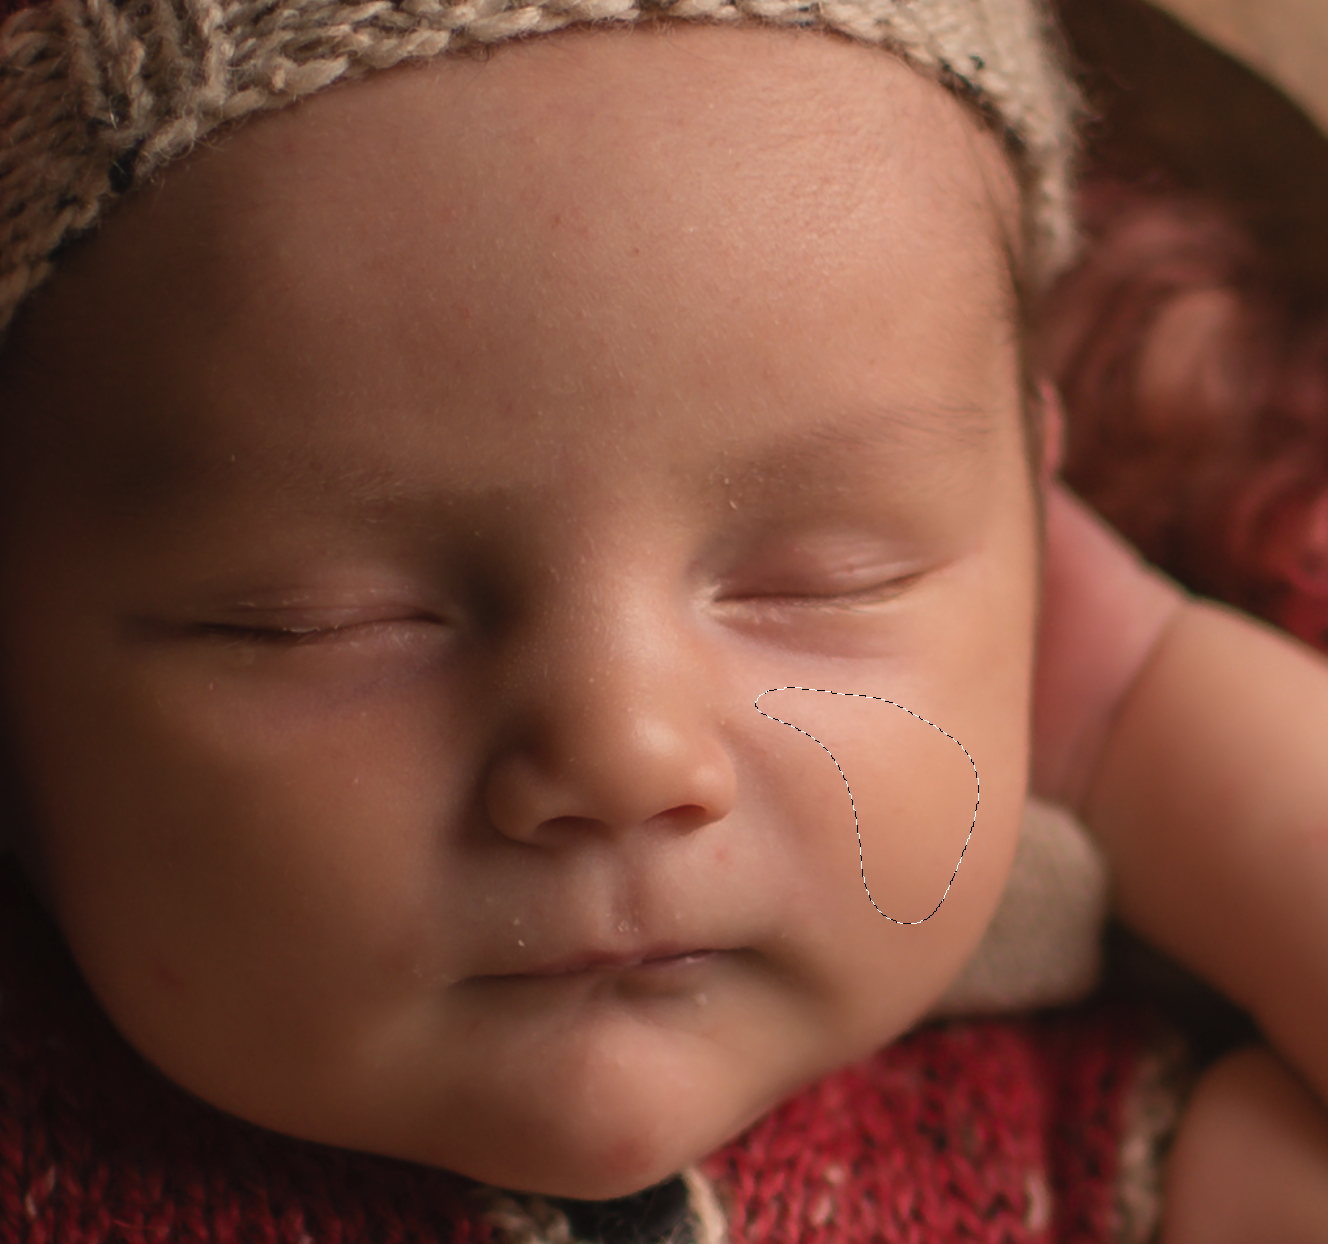
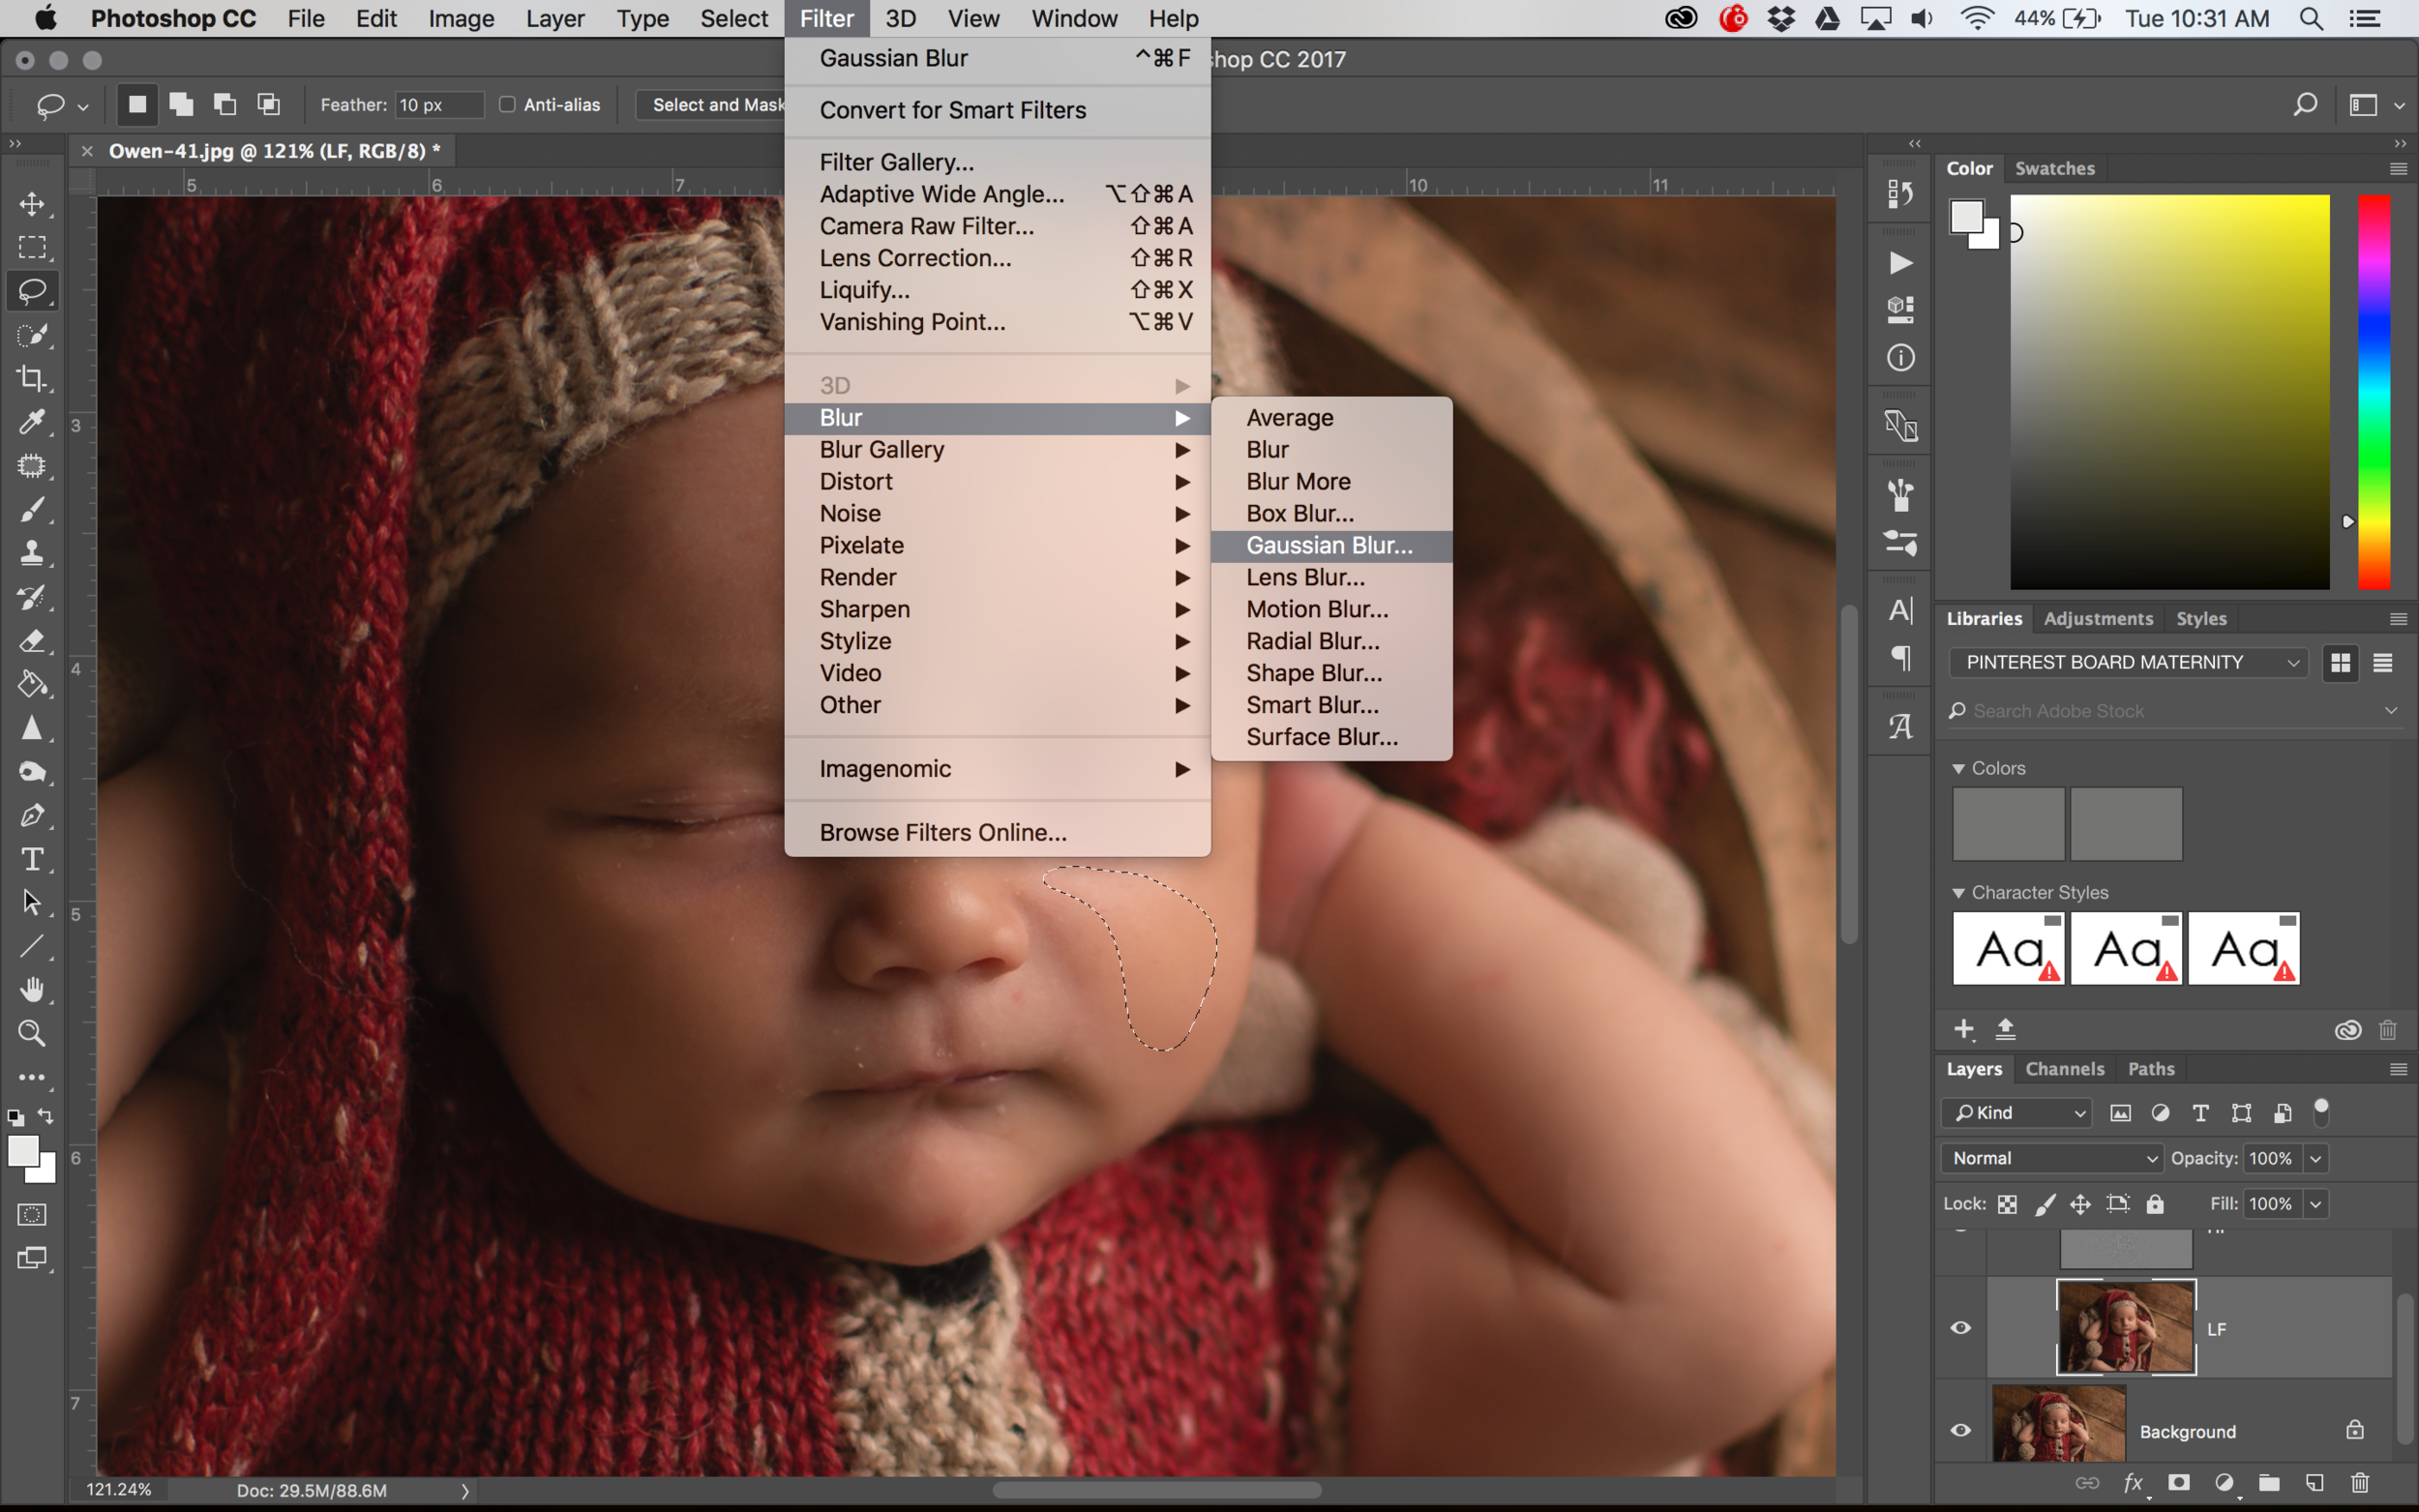
You will select your blur radius based on what looks right for your image. Make sure "preview" is checked, so you can see what it is doing. This is the best way to get natural smoothness in texture and color. I take care of the little blemishes and skin flakes by hand using the patch tool.
Here is a quick before and after up close of just the frequency separation. You can see how the tones are more even and soft, while still looking natural.
This was quick and fun! I hope you learned something new, and I will continue to share things that make my life easier in photoshop. :) To learn more about how we do things here at Naturally Newborn, go HERE.
xoxo
Tab